Showing posts with label Sewing. Show all posts

July 17, 2012

Forever in Blue Jeans


I like me a good pair of jeans.  Who doesn't right?  I've got like a million eight good pairs that I quite enjoy, but when the heat gets turned up, my alabaster legs need some {serious} sun.  So what's a girl to do with all these jeans and no jean-shorts?  Give 'em a good trim, that's what!  Now this isn't brain surgery; it's quite the opposite.  It will possibly take you all but five minutes to pull this off, so let's get to it!

Minute one: What's your length?  Mine is 23".  I like me a long short since I was blessed with tree trunks instead of toothpicks-which I'm fine with.  I just know what works best for me.
Minute two: Cut-a-the-pant-a.  I super {heart} my rotary cutter paired with my clear measuring thing-y.  Best thing next to pb and j in the sewing world-hm...at least to me =}
Minute three:  Take three or four seconds to admire you hard work.  Now take a deep breather-the end is nigh.
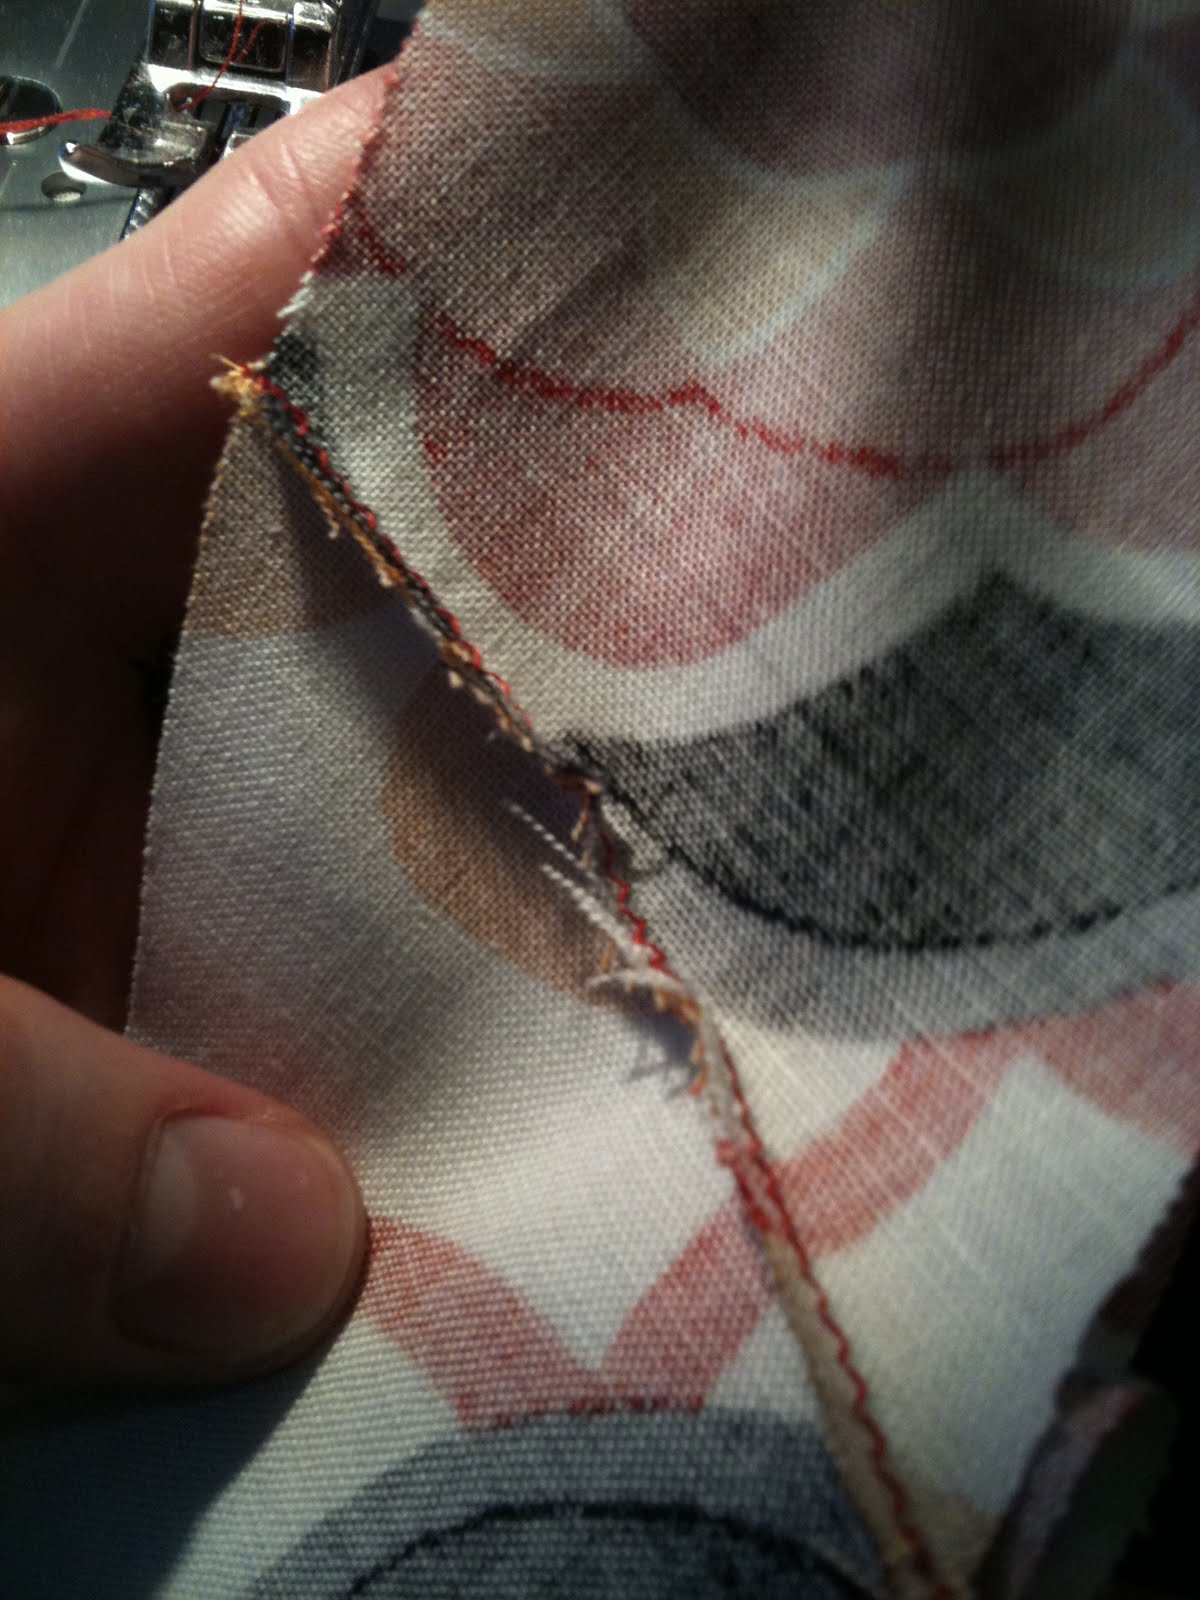
Minute four: Sew a zig, then a zag, if you will.  I find the zigzag is such a great stitch.  Not only does it look super duper festive, but its strong- like bull against fraying.   Because who knows when those pesky strands suddenly get a mind of their own and go bezerk and just start withering up your pant leg like raggedy-ann-type chaos.  Good thing you have your zig-zag bull to keep them in check.  
*wow did I really go on that long about a zig zag stich.... goo.
Hope you didn't fall asleep because you've got one more minute in your five minute jean short transfiguration. 


5. Try 'em on and strut your stuff, Daisy Duke!  Do a famous self-portrait-in-mirror and show off those sexy tree trunks {baaha! not true for you, I'm sure} to your bloggy friends.  It will totally make them jealous of your tree-mend-ous jean-to-shorts-transfiguration-skills.  Next to your rotary cutter and plastic measuring thingy-you're pretty much a genius!  Roll 'em, fray 'em, leave 'em as is- heck get out your BeDazzler for heavens sake and jewel up them pockets and bling, bling 'em.

So go on, go rummage through your closet, find a pair, pick a pair-really any pair will do.  Just don't cut you brand new all time favs.  You might cry and then come hunt me down with plastic thingy and your rotary cutter in hand.   We don't want that.
The best part?
They fit, require no gasoline or travel time, and are *f-r-e-e*.

Sweet air pic no?  
{Oh my lanta...}

Photobucket

July 12, 2011

Tute Sweet Tuesday

You can thank Old Navy for this one, since that is originally where my inspiration came from.  I was walking around their store and saw Fourth of July outfits out and I thought, "um, waaay cuteness.." but I saw some of the dresses and thought, "I could totally make one myself..." So I jumped my car and headed to JoAnn Fabric.  I found a very helpful tutorial from Prudent Baby here. (One of my fav blog-ities BTW) and saw how easy it was, and thought,
"Aaaawe-some".  

So I started out with this cute fabric here...
Made my measurements and started to cut. 
*TIP  Measure whomever you are making the dress for- 
HeCk! You could make one for yourself! {Um, how cute would you be?!}
Measure across the chest, and measure how long, then how "around" you'd like it to be.
-Cut two. (A front and a back-seams are on both sides)
I didn't measure little E on the first dress and I had to adjust her star one because I couldn't get her little arms through... true story.  Granted the pattern they have on there was for 0-3 month, and E is (*sniff*) 7 months now... but she was 6 months when I started this :} 
So I was sure to make this one a little bigger so she can grow into it and wear it as a shirt with little leggins.  {CUTE!!}
 I added an under layer of muslin so that I cut out (two) as well.
 Fold length-wise in half and draw your pits. 
Tear drop like.  
Cut out the pits (tee-hee-hee)
*TIP  It worked better for me to have a little more of a hole to put E's arms through, so I made the arm hole slightly longer and wider.
 All you need to do is sew right sides together and you're almost done!
After sewing the sides, fold and iron 1/4" of the top, then fold about 3/4" and iron.  Pin and sew.  Thread some ribbon through and...
Done!
BUT!
If you are like me and want to add some flair... read on.
 I added...
{ a ruffle. } 
Do you all remember our very first Tute Sweet Tuesday?
If not, refresh your memory here to do the ruffle.
Double your bottom measurement and pin right sides of the dress and the strip together and sew.
 Pssst
{*SECRET*}
I cut the ruffle and sewed the ruffle like you would bias tape and it looked sooo good.  Prudent also has a tute on how to make bias tape.  Awwwesoooome.
 *Remember the floss trick with ruffles.  If you need {another} refresher go here.
Done!
And Done!  
You can't see it well in this picture, but I made her a little rosette with a button to help me know which side was the front.  It probably got matted down from all that lovely drool.. but she's cute anyways :)

A fun little summer dress that only took me about an hour and some change.  You could also make it a little shorter and use as a top.  
With ruffles. 
 Lots of them.  
(Kind of obsessed with ruffles at the moment..)
Really, there's no limit on what you can do.
Happy Sewing! 

And BTW, if you have done a {trulie scrumptious} tute or a project of your own that you would {trulie} LOVE to share with us, we encourage you to TUTE your own horn and email your pics at truliescrumptious@gmail.com.  


Photobucket

June 7, 2011

Tute Sweet Tuesday:The MAN Blanket.

Hello, ladies.
Think of your MAN, now back to me, now back at your MAN, now back to me.  He may be your father, husband, grandpa, boyfriend, brother,whatever, but Father's day is coming up.  Look up, look down, where are you?  You're sewing a blanket for your MAN.  What's in your hair?  Back to me.  It's just sewing thread to sew your MAN blanket.  Look again, your MAN is smiling because he has a MAN blanket.  What are you going to make him for Father's Day? Can you say:
MAN Blanket?

Back-story:The MAN blanket was invented by my old MAN about a year ago.  I made rag blankets for my niece and nephews and after showing them to him 
he said to me: 'Well, I want a MAN blanket'.
What did I say? 'Done.'

{a fairly realistic re-enactment}
and yes, I totally look like that...

I made one for him and for Spunky (the hubby) for Christmas.  
One for the Dallas Cowboy in my dad.
One for the Florida Gator in Spunky.


And just completed one for Rhonda mom for Mother's Day. "The Sheila Blanket"  Sheila meaning "lady" in Australian. 
{WoW! Ashlie Speaks Spanish AND Australian?!!?  Yes... Yes I do.}  
(Not called Lady Blanket because that sounds weird to me). 

 So how to make this 'MAN Blanket' you ask? 
 Simple. 
Come along with me.
(sorry kids, no pictures.  just use those creative juices to paint a pretty picture in your head-yeah?!)
You all, I'm sure, are familiar with fleece blankets? How you have two coordinating colors and cut and tie around the edge and *WaaaMo Presto*! You've got a blanket! I liked that idea but wanted to push my creative juices a little further down the water slide into the pool of grandeur.
I like rag quilts.  And I like fleece.  So this is a rag fleece blanket.  What's great about these is they are: Easy. Fast, Fun And Easy.  And your MAN will LOVE THEM! Yes, I said easy twice because even for me, it's hard to mess up on them.  
So let's hop to it!
for The MAN Blanket you will need:
Fleece (any fleece will do, for your MAN blanket, may I suggest a favorite team of your MANs'? The fleece is MORE expensive BUT you can always find a sale at JoAnns or any fabric store, or receive their coupons to get it for LESS!)  I like to do 2-1/4 yd.  You can do more or less depending. Just make sure it's the same for the coordinating as well.
Coordinating Fleece: 2-1/4 yd
Thread {the one in your hair will work ;}
*Scissors *Advice: Get a good pair, otherwise it will make your life HELL-O Mr!  I have Ginger pair that I LOVE and treasure.  They are a little spendy and Spunky is not allowed to use them.  Again use fabric store promotions or coupons.  You NEVER ever need to pay full price for them.
Sewing Machine
Measuring device

1. Measure.  Always measure before you cut.  I don't know how many times I don't measure correctly and then have to get sUPEr creative to fix my mistake.  Even though your fabric was cut at 2-1/4yd, it may be slightly different.  When doing this, I go by inches.  Remember, I dislike math, so I choose the path of least resistance.  I measure the length and width and then choose a number that it is divisible by as evenly as possible to get my squares.  (This is the hardest part for me )  It's usually 7 or 8 inches.  But you can make the squares as big or as little as you'd like, so really whatever works for you.  (I sometimes like to mix it up, doing big 14" or 16" and small 7" or 8"-Just remember the bigger the square, the less you have to do *wink wink)

2. Cut. Once you have the size of your square- utilizing the most out of your fabric, your going to cut.  I haven't found an easy button around this yet-I just measure a row and cut squares as I go. You could cut out a pattern of the size of the square and either pin or trace around it then cut, but I get very impatient so I just measure and cut as I go and pray that my squares will be close to the same size.   

3. Stack. Once you have all the squares cut up put them into stacks to be sewn.  I will lay out my blanket as I want it on the floor then stack a row and put a sticky with the row number dividing the rows. Make sense?  So the first row is 1, the next, 2, and so on.  So I can keep track as I go. 

4. Sew. Next step is to sew your stacks.  Sew wrong side together with about an inch to a 1/2 inch inseam.  I like to do about 3/8"-1/2" because you're loosing inches as you do this.  The less the inseam, the less fabric will be lost in your blanket. So if you're doing a 7" square it will end up being a 6" square all said and done. Capiche?

5.  Sew. After sewing your rows your going to sew the rows together.  (*Haha I reread that and it made sense to me.  Make sense to you?)
 Finished? 
Almost.  
6. Sew. Once your MAN blanket is all together, sew around the entire blanket so you can clip the ends too.  Use the same inseam as you did with the rows to create equal harmony with your MAN blanket.

7. Cut. It is grueling. But keep snipping, you're almost done!

8. Wash. (Call me a sinner, but I don't pre-wash mine.  To avoid shrinkage {haha-Seinfeld anyone, anyone?} hang to dry.)

9. Give that MAN in your life a nice smooch and tell him Happy Father's Day!


Photobucket

June 3, 2011

Fruity Fact Friday- Sew Interesting Edition

What would we crafters do without our sewing machines?! 
Oh right....
Sew by hand.  
hmm.
But that's not as fun, so here's a little tid bit tribute to the man who enables us to whip a stitch in seconds and lets us sew to our hearts content!                                                                                                     Enjoy!

A German named Charles Wiesenthal who lived in England got patented the needle that he designed for sewing machine in 1755. It was in 1790 Thomas Saint, who was an English inventor and a maker of cabinets got a copyright for a sewing machine as a whole. This machine was designed to sew leather but it could not produce results and failed. Though Balthazar Krems invented an automated sewing machine to sew caps in 1810 but he did not get it patented. There were few unsuccessful tries too. In 1814 Josef Madersperger was able to get patent for his unsuccessful machine. Thomas Stone and James Henderson got French patent for their machine and Scott John Duncans for his embroidery machine in 1804 but both machines were a great failure.
The French tailor Barthelemy Thimonnier invented the first sewing machine that could function in 1830. The machine used a single thread and a needle which was hooked. The other tailors burnt his shop and almost killed him as they thought the new invention might bring unemployment.
It was in 1834 that America’s first successful machine came up and the man behind this was Walter Hunt who took no interest in getting a patent for it due to the fear that it might cause unemployment. It was in 1846 that Elias Howe got the first American patent for a sewing machine that had one pointed eye and accepted thread from two sources.
The mass production of machines started in 1850 when Isaac Singer invented the machine that was commercially successful.
It's good to know that sometimes you don't succeed at first, sew try, try again! {hehe-a little sewing humor there for your SEW beautiful Friday!} 
Crazy how they've evolved from a single needle and thread to this behemoth?!  (*aka*- the dream machine)

Photobucket

May 31, 2011

Tute-Sweet Tuesday: Baby Bib

Hey you {scrumptious} readers! I was just craftin' around one day and this was the result...
A bib for my perfect little niece. 

Here's what you'll need:
*A shower curtain, or another type of fabric of your choice... (I got mine from the dollar store :)
*Paper
*Pen
*Scissors
*You're favorite fabric
*A strip of your 2nd favorite fabric
*Two 6" strips of ribbon
*Pins
*sewing machine
*a cute little niece or baby to be your model

OK, Here we go!
First things first, you need to make a template.
 I just guesstimated with a pencil and when I liked it I cut it out!

Then you'll need to trace your template onto your shower curtain
 (or fabric of your choice)

Now Cut this puppy out!!

Then do the same with your fabric

Here's where you'll need your 2nd favorite fabric. 
Cut out a 1" strip the length of your bib.


Sew it on the front of your bib 
{I use a zig zag stitch, but whatever floats your boat}

Now place your 6" ribbons at the top of the bib.
 {Make sure you place it exactly like I did in the picture, I did it the opposite way before and, well.... it didn't work our so well..
so do yourself a favor and look at the picture}

We're getting closer!! Now pin this baby up with WRONG sides together and we're ready to roll...


Sew all around the edges of this beauty, but leave a small un-stitched spot so we can flip this bib inside out. 


After you've sewn it all up, switched it inside out 
(which will be the right way)
 Stitch up the un-stitched part and Voila! You're done!!
Place it on that beautiful baby of yours and enjoy...

{don't let this face fool you, she absolutely loves her bib.. I Promise}
Photobucket

April 26, 2011

Tute-Sweet Tuesday: Cupcake Pin Cushion

Drumroll pleeeeze...
 {drum-drum-drum-drum}

Introducing: 
Natalie
A {trulie} scrumptious gal whom we LOVE! 
{our BLoG BFF!} 
We took a gander at her blog and {hearted}everything in sight!


You'll just adore this sweet treat tute.
We did.  
It's so scrumptious, you'll wanna take a nice big bite outta it.  But refrain; you might poke yourself ;) Bahah.
Take it away NatSprat!

Hey! I'm Natalie from over at NatSprat! I am SOOOOOOO excited to be doing Tute Sweet Tuesday here with 2 of my favorite gals in Blogland! (Seriously, aren't they the best!?!) This is a tutorial for a DELICIOUSLY DECEITFUL cupcake pin cushion! So, ready....set....here we go!


YOU WILL NEED:

2 colors of felt: one for the wrapper and one for the frosting
glue gun/glue sticks
sewing machine/thread
stuffing
(not the turkey kind...)

*plug in your glue gun to get it nice and hot. Nice for the glue...not for the fingers*
Cut your strips. They will need to be 3-4 tall and about 8 1/2 inches long. (If the size isn't perfect, it totally doesn't matter. It'll still work great!)


Get your sewing machine all threaded and ready to go. You will fold over your felt strip about every quarter of an inch and sew down the edge with an 1/8" seam allowance. Do this for the whole length of the strip.


It will end up looking like this.


Fold over the top edge about a quarter inch and sew it down using an 1/8 inch seam allowance.


Do the same thing to the other side...


And it will turn out like this. Decide how big around you want your wrapper to be and cut it to the size you want.


Put the ends together and sew them together, remembering to do the back stitch at the beginning and the end of the stitch. Now you're done with the main wrapper part.

On to the sweet stuff! Mmmm. Frosting.


Take one of the strips for the frosting and fold it in half from top to bottom, not lengthwise.
(I totally forgot to take pictures of this part apparently...ARRRGH!)


Start to roll the fabric into a cinnamon bun type thing, gluing a little as you go to hold it together. Don't use too much glue or it'll be hard to get your pins into it. Use your other strip and do the same thing until it's about the circumference as your wrapper.

See how it's kind of taller in the center like an ice cream cone? Try to get it like that. ;)

*****

(Mmmmm....ice cream cone. Does anyone else hear a choir of angels singing? I must be hungry.)

*****


Now, stuff your frosting into the wrapper and glue around the edges to secure it. Awww, it's looking so nice and tasty!


Cut a circle of felt the same size as the wrapper hole. Flip it over and put in your stuffing.

*tip: I ended up putting in some of those little clear glass rock things at the bottom to kind of weigh it down*


Glue on the bottom! You can also use a piece of cardboard cut to the circumference of the wrapper to make it flat on the bottom.


And Voila! You're done, and you have the CUTEST little pin cushion ever! If you want a cherry on top, just use a mini red pom pom! ;)

Now...I have GOT to go get me an ice cream cone. Buh-bye!


Photobucket


Photobucket
Related Posts Plugin for WordPress, Blogger...